We work hard at taking our photographs with expensive equipment, and then fix them in Photoshop but that is not enough to post on Internet. We must optimize our photographs for Internet before posting for it to look good.
There are lots of complicated methods listed on Internet but I will show you a simple, quick, effective way. This is the process I like to follow while using Photoshop. At the end there will be notes for Lightroom users.
This process starts after you have completely readied your PSD with all required adjustments. The key is to find the correct balance between size and quality for it to download at a good speed without looking pixilated.
STEP 1: Add your watermark. Please keep it small, barely legible. A large signature distracts, is annoying and shows the insecurity of the photographer.

STEP 2: File – Save For web.
The other option is to ‘save as’ but then the photographer needs to do everything, ‘save for web’ is easier and faster.

Recommended settings:
Select ‘Optimized’ v/s Original, as it is best to see the processed image.
Select JPEG, it works universally.
Quality at 100. Reduction in quality will reduce sharpness and color depth. You may never need to reduce this if you ensure your image dimensions are controlled.
Convert to sRGB: Keep this selected; it is the best format for web.
Select Optimized (Progressive was for when internet was slow.)
Embed Color Profile: Not checked.
Preview: Monitor Color (Keep your monitor calibrated.)
Metadata: All. This will preserve EXIF and any copyright info you added in your camera. It is best to include all this in case anyone likes your photo and wants to buy it then they can contact you. And if someone steals your photo, this is the best way of prove your ownership.
Color Table: It is not for JPEG
Image Size: A very crucial setting. I like to keep it at 1000 pixels on the wide side. (Don’t worry, it will not change the original.)
Image Size Quality: If you are using any modern camera you will need to reduce the size of the photo and so select Bicubic Sharper to ensure Photoshop brings back the sharpness size reduction causes.

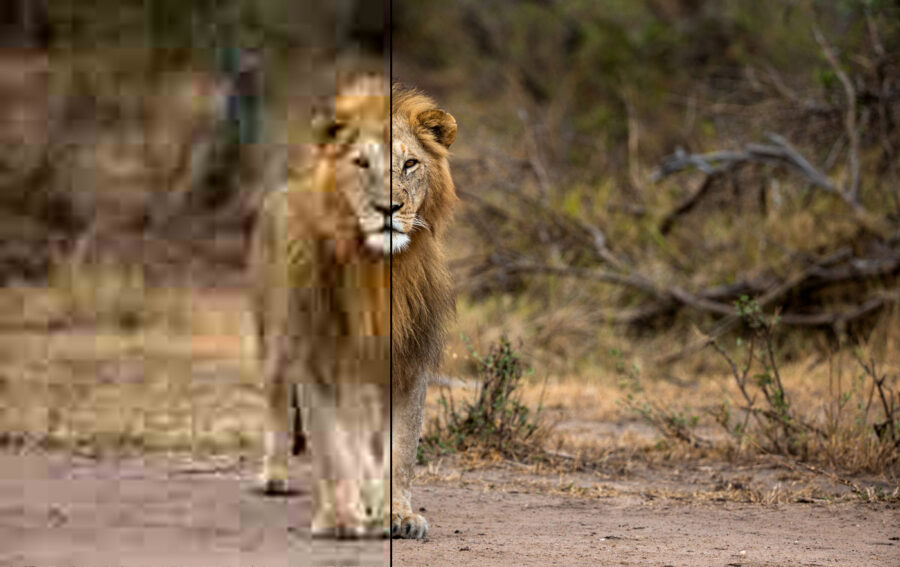
2nd Up: on the top of the “export for web” dialog box shows original and optimized together. This lets you compare your RAW with Processed.
On lower left corner you can click Preview to see how the photo will look online. Neat!
The Main Reason Your Photos Look Different On Internet than Your Monitor:
- Your monitor is not calibrated correctly.
- You have not converted your image to sRGB
- Your file size is too less – this will pixilate your photo.

Remember, many websites will reprocess your photos – rob them of color depth and reduce size before uploading them. Ah, well.
Feel free to point out errors or better methods and your questions.


Most Commented Posts